Perhaps the most important survival skill is knowing how to build a shelter. Once you have shelter, then you can worry about other needs such as water and food.
There are numerous ways to build a shelter depending on what resources you have, what terrain you are in, and what the weather is like.
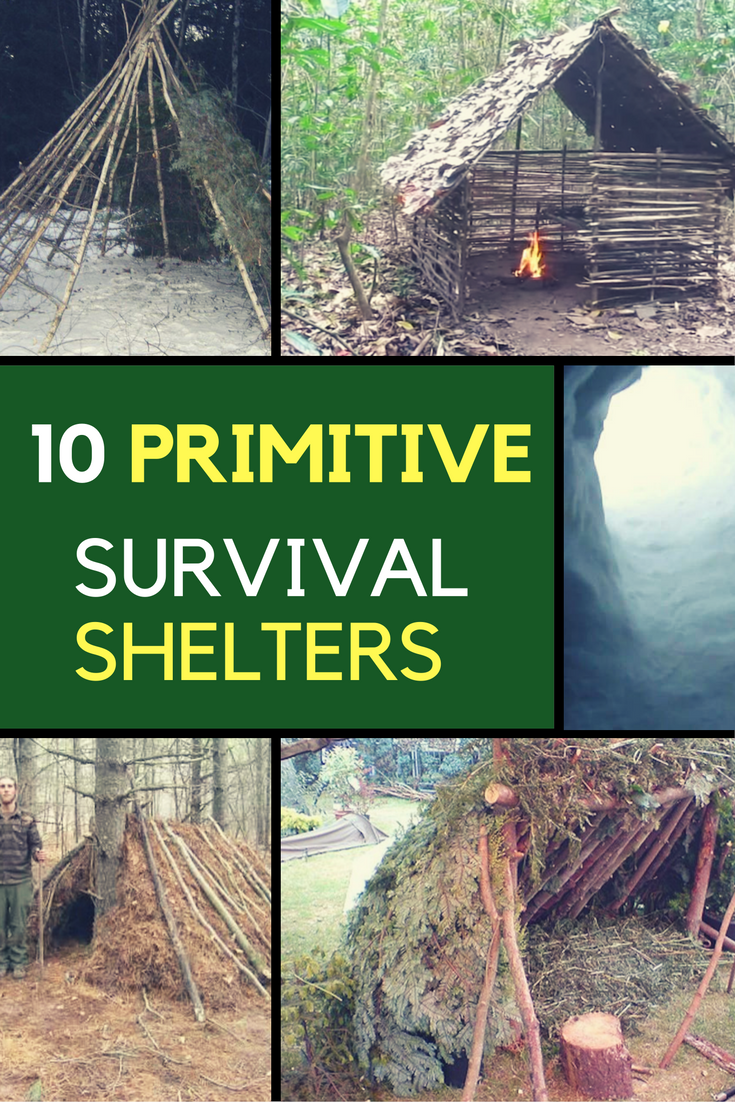
Here are our 10 favorite survival shelters that will keep you safe during a catastrophic event.
Basic Debris Pile Shelter
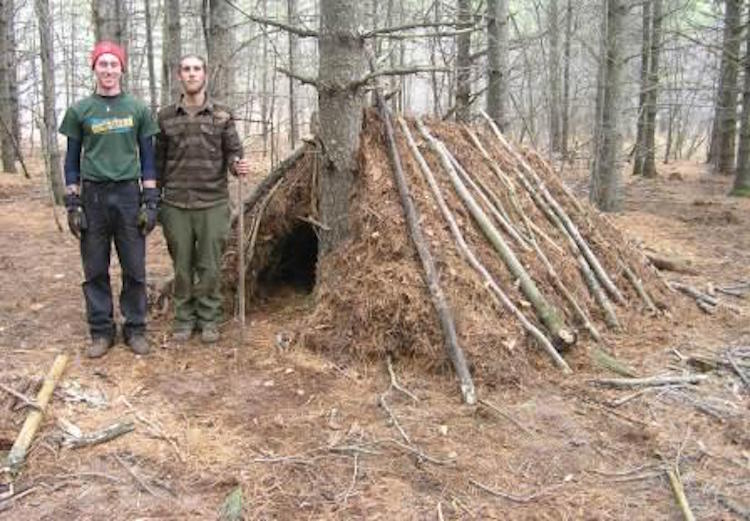
When you get lost in the forest and it’s getting dark, you need to make a shelter fast. The quickest and simplest form of shelter is a debris pile.
For this, heap up a big pile of whatever is available such as twigs, leaves, and assorted forest floor debris. Dig out a small pocket underneath to crawl into and fill in the opening.
Lean-To Shelter
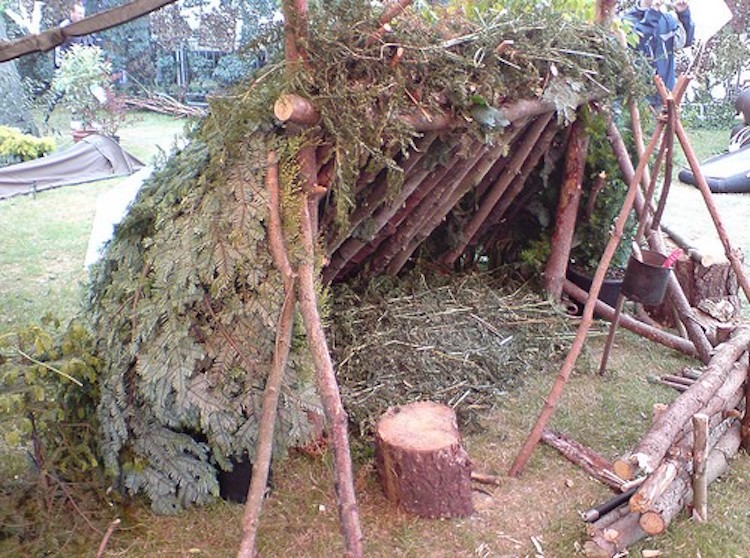
If you have time, you can make an effective lean-to shelter. Either cut or break off small branches that have a natural Y at the end hold up your front pole. Set branches against the front pole to form the roof structure.
Depending on your environment, you can use forest debris, palm fronds, or whatever is available to insulate the roof. A lean to is mainly helpful when wind only comes from a single direction. This video shows step-by-step how to make a lean-to without any rope.
Tree Root, A-Frame Shelter
If you’re in the woods, finding a downed tree with the roots sticking up can be a great jump-start to a sturdy A-frame shelter. You anchor your ridgepole on top of the root, then place smaller sticks along both sides of the ridgepole. The final step is to insulate and fill in the holes with forest debris.
In Mike Pullen’s Bushcraft video above, he constructs a water-proof, wind-proof shelter in about an hour. The A-Frame is a sturdy shelter. When the wind direction is prone to shift, having coverage on three sides is a definite bonus.
Related Article: 25 Essentials for Surviving a Zombie Apocalypse
Branch A-Frame Shelter
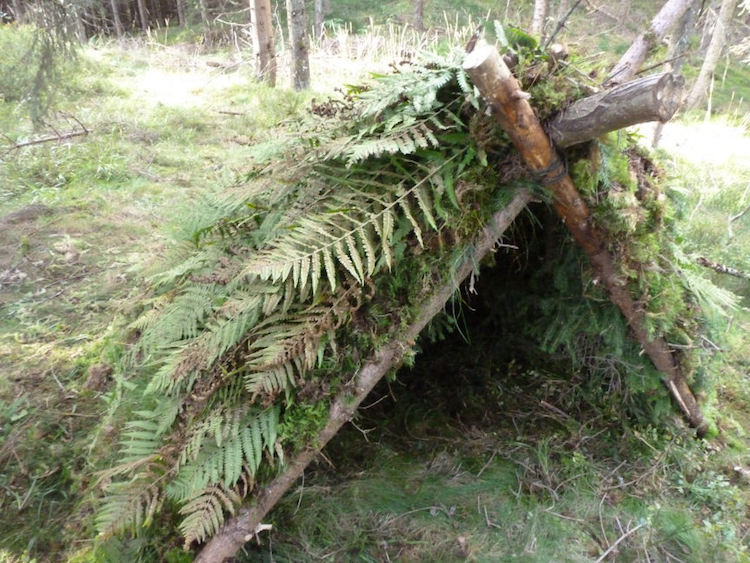
To speed up the construction of this type of shelter, look for a tree with low branches that you can use to anchor your ridgepole. If you cannot find one, you can use a sturdy stick with a Y end to rest the ridgepole on.
Then follow the same steps you would for the Tree Root Shelter.
Wikiup Shelter
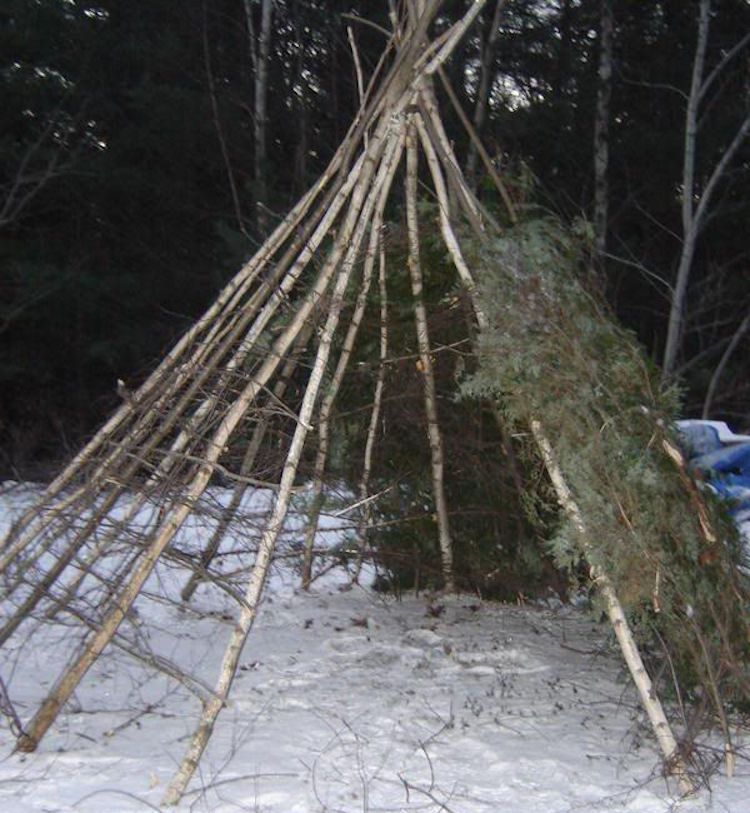
If you know you’re staying put for a while, a Wikiup is a simple shelter you can build to keep warm and stay out of the elements. This is one of the earliest forms of shelter. It’s a teepee-shaped structure that uses forest debris to block the wind and rain and keep heat in.
Start by making a tripod. Using branches with a Y end helps secure the tripod. Next, add more poles to form the basic structure. Starting at the bottom, fill between the poles with forest debris.
Vines, leaves, and pine needles can all help to block wind and shed rain. The Daily Caller has a great article on building this type of shelter.
Ramada Shelter
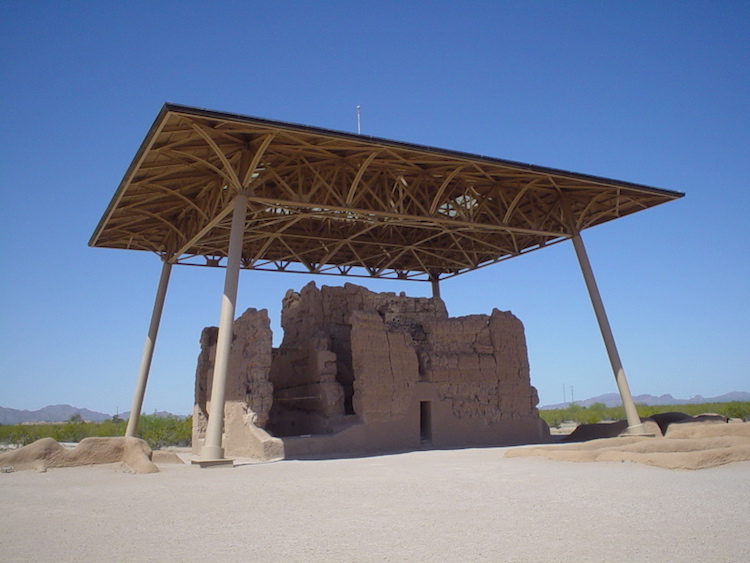
In tropical survival situations, having shelter from the sun is a priority. If you have a tarp, you can raise it on four poles and run string (or vines if you don’t have string) out from the four corners.
The sole purpose of this type is to protect from the sun and should only be used when evening temperatures will not drop.
Wedge Tarp Shelter
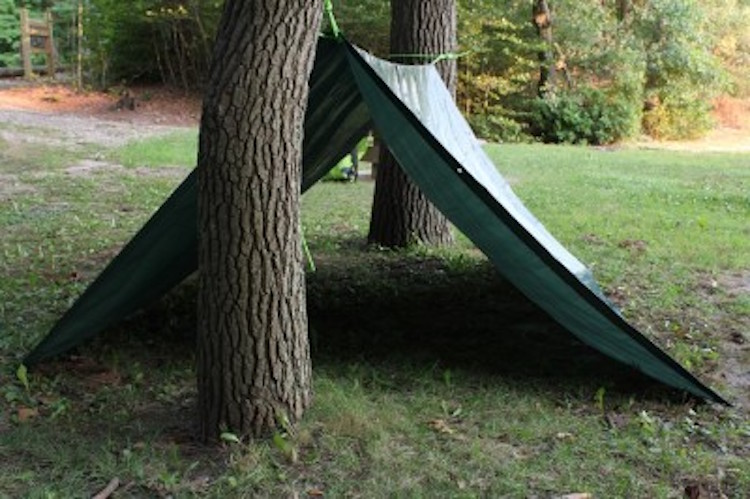
If you’re lucky enough to have a tarp in a survival situation, the wedge shelter is the best at protecting you from the wind. Start by staking down two corners on the windward end of the tarp. This forms the back of the shelter and can be weighted with rocks, gear, or branches to seal from the wind.
You will need some type of cordage. If you don’t have string, vines or strips of bark fiber can work. Attach your cordage at the center of the front of the tarp and tie it upwards in a tree. The remaining two corners should be secured by string or vines to the ground.
Snow Mound Shelter
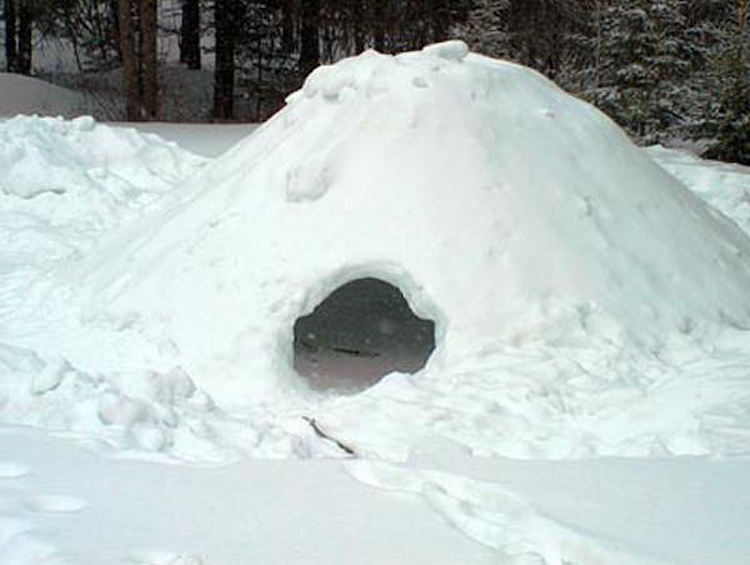
Finding shelter can be particularly difficult in snowy areas, yet it is critical to stay warm. Snow conditions aren’t always good to make snow blocks. A snow mound shelter (also known as a quinzhee) can be made in a few hours.
For this shelter, start by piling whatever gear you have available. Cover the mounded gear with snow, dig a tunnel under, and then remove the gear. You can then hollow out the mound and enlarge the area. Read this Field Manual for the U.S. Antarctic Program for details.
Snow Tunnel Shelter
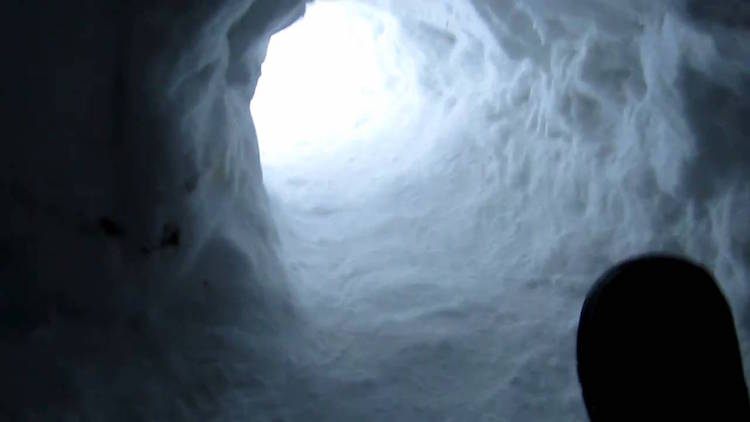
If you’re caught in a blizzard, your survival depends on getting out of the wind as soon as possible. In this video, Bear Grylls gets caught in a blizzard in Iceland. It takes him about 20 minutes to create the shelter.
Mud Hut Shelter
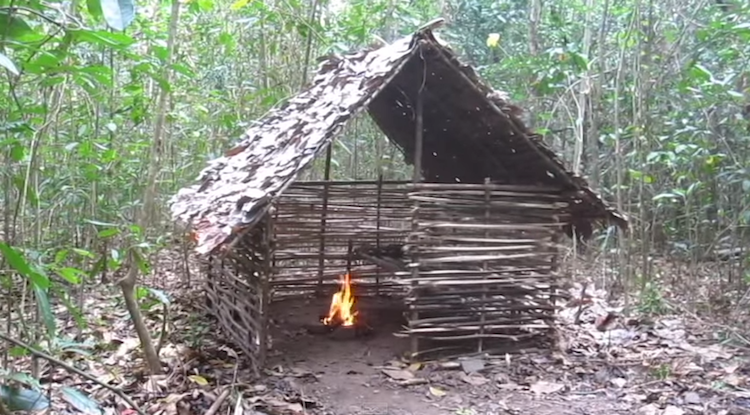
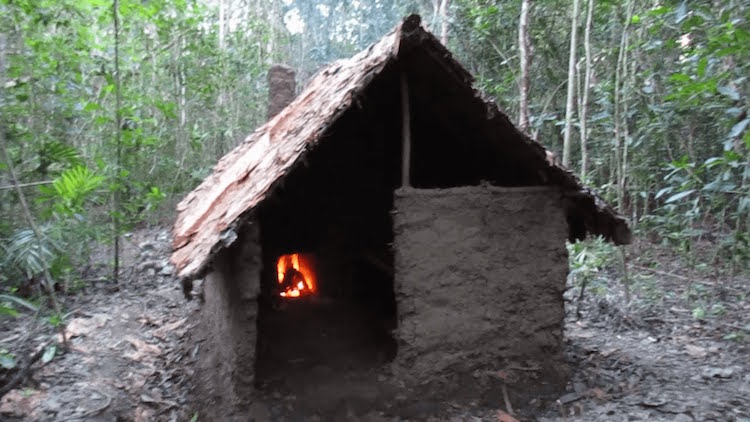
If your primitive shelter is meant for a long-term abode, more complex and durable structures such as a Mud Hut might be appropriate. A Mud Hut can be built on a basic lean-to-type frame. The mud is used as mortar or plaster to completely seal the outside of the hut.
When your basic lean-to structure is completed, prepare a mix of thick mud and grass. If you are able to build this type of hut in spring or early summer, the roof may sprout moss, grass, or weeds which can greatly increase its durability. For more details visit Wildwood Survival.
Get The Hell of Out There
Many experts consider shelter as the most important factor in coming out of a survival situation alive. The key is in recognizing what resources are available and knowing how to use them. With a few basic skills, you can construct a shelter to fit any terrain and weather condition.
Better than surviving is preventing an emergency. Before venturing out, buy or make a basic survival kit that includes some type of saw or knife and basic navigation equipment. Always take your kit with you. You can learn about basic survival skills at sites like Survivorman or Practical Survivor.