[adinserter block=”1″]
I promised myself that I wouldn’t bust open the canned pumpkin until the official start of fall (September 23rd… I’m counting down the days), but I didn’t say anything about the pumpkin spice — that’s fair game at any time of the year.
It’s no secret that I adore everything about fall. The colors; the scents; the fashion; the food — I love it all.
While everyone around me seems to be lamenting the end of summer, I’m celebrating the start of — what is in my humble opinion — the best season of the year.
Sure I may be retiring the berries, smoothies, and no-bake treats a little early, but with the days already getting shorter and cooler, I find myself wanting a little more comfort and warmth than light summer fare can provide.
Well, that and I’m kind of obsessed with fall flavors… and nothing screams fall more than pumpkin — or pumpkin spice in this case.
[adinserter block=”4″]
Confession: I didn’t have my first taste of pumpkin until I was well into my 20’s. Growing up, I operated under the assumption that pumpkins were for carving around Halloween — the thought of actually eating one seemed completely absurd.
We didn’t even have pumpkin pie on Thanksgiving since my family is very Polish and that’s not a dessert that’s typically served in that part of the world.
And since we’re on the topic of “foods that Amanda was deprived of as a youth,” we might as well throw chickpeas in the mix as well, because those didn’t make an appearance until around the same time that pumpkin did.
Apparently I just got a whole lot more adventurous with food in my adult life. But I digress.
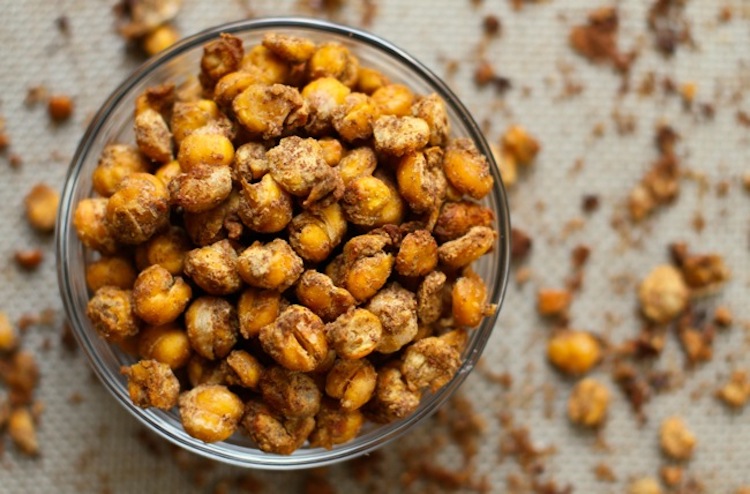
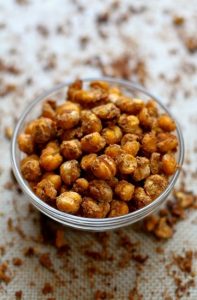
Pumpkin [spice] and chickpeas — the star players in today’s recipe for Pumpkin Spice Roasted Chickpeas; also known as one of the most delicious and addicting snacks known to mankind…
[adinserter block=”2″]
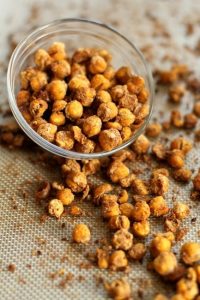
If you would have told me years ago that there’d come a day where I’d enjoy snacking on beans, I would have laughed myself sick and told you to hand me a bag of chips; but apparently miracles do happen and tastes do change. Thank goodness for that, or I’d be missing out on what has become one of my absolute favorite things to snack on.
It kind of makes me wonder if I should maybe give zucchinis and fish (two foods on my “will not eat” list) another try… but I’ll worry about that some other time — today, chickpeas.
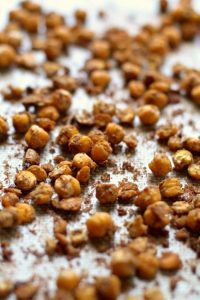
Roasting your own chickpeas is super simple, but there are a few important things you want to keep in mind during the whole process. First, you want to make sure that you’re working with extremely dry chickpeas.
That means draining them, rinsing them, and toweling them off to high heaven. Any moisture left on your chickpeas will result in a chewy texture rather than a crunchy one, so unless that’s what you’re going for, take a little extra time to ensure that they’re good and dry — bonus points if you can leave them lying out in the pan for a few hours.
Second, you’ll want to remove the skins. You could technically skip this step if you’re short on time and/or lazy, but it’s a good idea to take the extra 5 or 10 minutes it takes to skin those suckers.
This will ensure that your chickpeas come out of the oven as crunchy as possible, and also prevents all the flavors from falling off with the skins post-roasting.
Other than that, the only thing left to worry about is figuring out a way to keep yourself from eating the whole batch in one sitting, because yes… they really are that good.
- 1 15-ounce can chickpeas, drained and rinsed
- 2 Tbsp. maple syrup
- 1 tsp. coconut oil, melted
- 1 tsp. ground cinnamon
- ½ tsp. ground ginger
- ¼ tsp. ground nutmeg
- Preheat oven to 375F and line a large baking sheet with parchment paper or a silicone baking mat. Set aside.
- Empty can of chickpeas into a large strainer, allowing the juices to drain before rinsing well with cold water to remove the starch. Optional: remove the outer skins by lightly pinching each individual bean between your fingers. This step takes an additional 10 minutes and isn't mandatory, but it really helps add some extra crunch to the finished batch.
- Spread chickpeas out onto prepared baking sheet and use a paper towel to pat them dry. You want to be sure to get as much moisture off as you can. The drier they are, the crunchier they'll be. If you can let them sit and dry for an hour or two, even better.
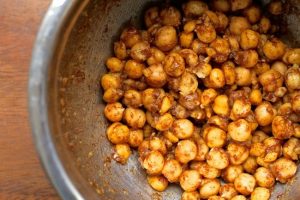
- In a medium sized mixing bowl, combine maple syrup, coconut oil, and spices, mixing well to ensure that everything is fully combined.
- Add chickpeas to mixing bowl and use a spatula to ensure that they are evenly coated with the syrup mixture. Pour them back onto the baking sheet and sprinkle with salt.
- Bake for ~30 minutes, or until chickpeas are crunchy and no longer soft in the middle. Use a spatula to stir them every 10 minutes or so to make sure they don't burn.
- When fully cooled, store in an airtight container at room temperature.